A database server without a backup strategy is a disaster and if you have no strategy implemented, you invite for troubles. However this traditional approach cannot be implemented with Azure SQL Databases because most of the backup requirements are automatically done. Azure SQL Database offers built-in backup and restore facility that is an automated operation. This automatically provides disaster recovery, recovery of data corruption and eliminates manual backups. These backups are retained for 7 days, 14 days and 35 days for Basic, Standard and Premium tiers respectively and Point-In-Time restoration is available too.
However, when you need a copy of your Azure SQL Database to local environment, how do you do it? You do not get traditional .bak files and it cannot be restored using traditional interface. But this can be achieved using Export functionality given. Here are the steps for getting you Azure SQL Database to on-premise server.
First of all, make sure that you have a classic storage account configured. You cannot export the backup, of course it is bacpac file, to a storage created with the new portal storage blade.
Once the storage is ready, open your database using SQL Databases blade and click on Export.

Then select the classic storage and the container. Name the bacpac file as you want, and click Create.

This will create the bacpac file and add to the storage. Then get file into local environment (you can use a third party tool for this too) and access it using Management Studio.

This takes you through the wizard, select the bacpac file saved and continue with the wizard. Note that you can directly refer the storage account if you can connect with it, rather downloading the file manually.
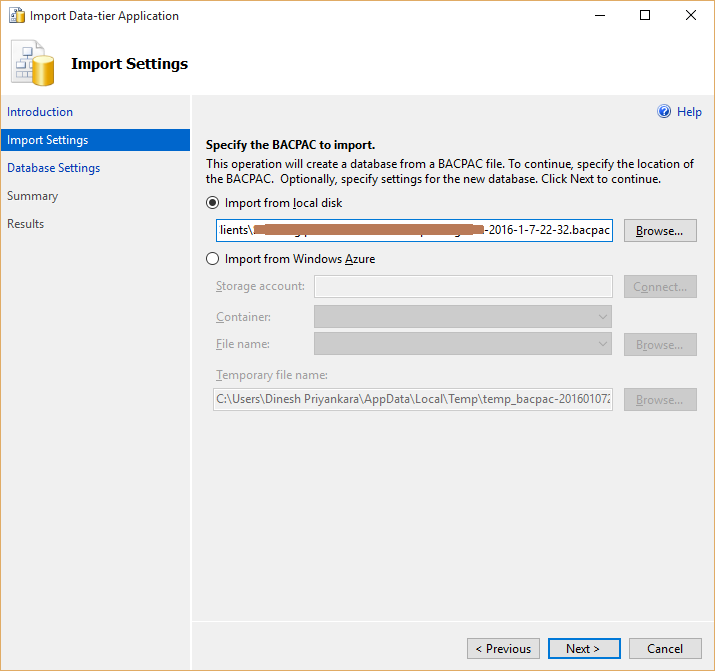
Done, now you have the database in your environment.
No comments:
Post a Comment